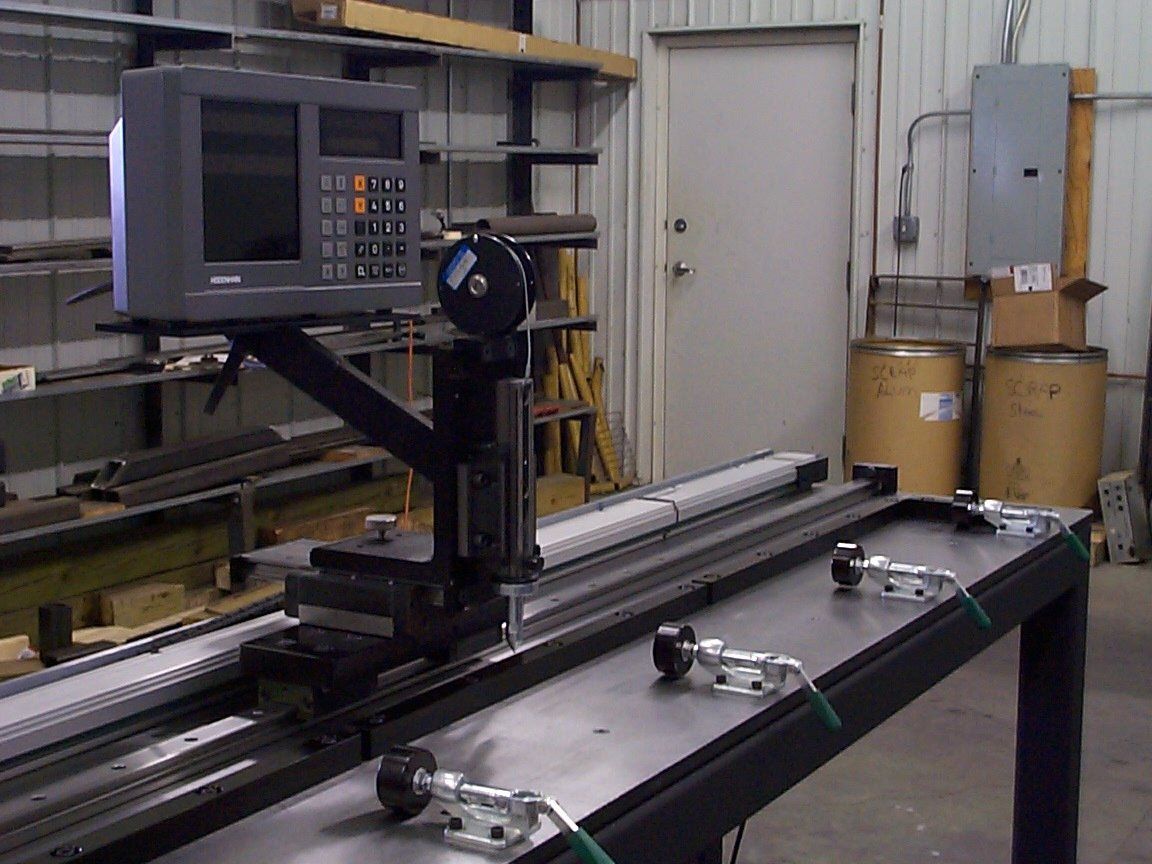
One client came to us looking for a big single axis table for checking sheet metal parts. Easy, right? Not so fast. There were a couple of dimensional measurements that needed to be taken that our standard machine and accessories just weren’t built do do. One was to check the bent edge of a fabrication to make sure the bend angle was within specification.
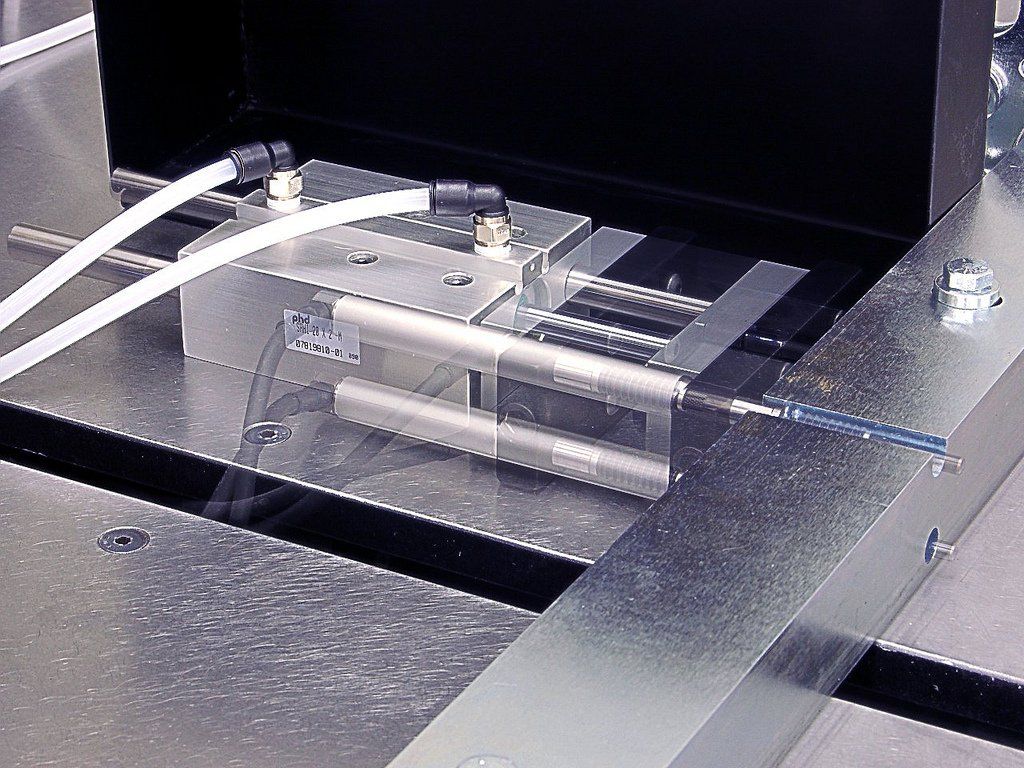
After some thinking, a refresher in trigonometry, and a chat with our encoder supplier, we came up with the device shown here. This air-actuated cylinder pushes two probes at a specified distance apart against the bent edge of the part. By calculating the difference between probes, we can show that the angle is in or out of specification.


Share On: